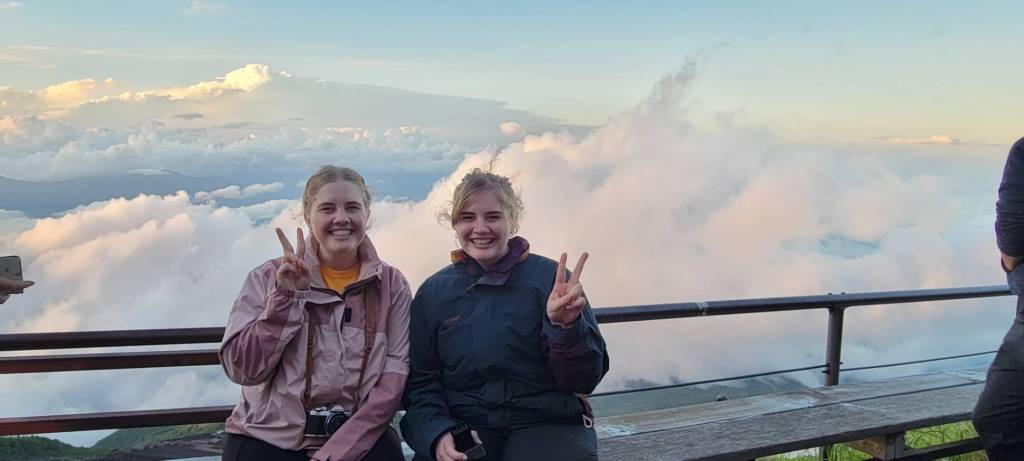
Fuji-san, the iconic symbol of Japan. Legend says that until you climb Mt Fuji, Japan will keep calling you back. So, we made a plan to climb Fuji-san before we left Japan.
TL;DR
Mt Fuji is the highest mountain in Japan, standing at 3776m above sea level. It takes about 24 hours round-trip to climb and descend, if you do the overnight trek as most hikers choose to do. It’s not particularly difficult, but you should definitely be a fairly seasoned hiker/fairly fit to attempt it.

The Planning
Step 1: Choose your trail and book a hut
We did the Yoshida trail which is the most popular trail. The other trails have less huts and require more preparation. If this is your first time hiking Fuji, Yoshida is probably your best bet.
Some huts can be booked online, others you have to call to book. If you have a Japanese-speaking friend, you can enlist them to call and book for you. If you can, we would suggest staying in a hut at the 8th station because you’re MUCH closer to the summit for sunrise. It’s much further from the 7th station huts. In saying that, when we went, the online huts were all booked out except for one room at the 7th station hut and we still had an amazing time, so don’t let that deter you from booking a 7th station hut.
Hut bookings usually open around May, so keep an eye out for when they open so that you can book as soon as possible. We stayed at 7th Station Tomoekan (七合目トモエ館) in a private 6-person room because it was the last one left on the weekend that we wanted to do it. It was fantastic and you get dinner and breakfast included (breakfast is packed and given to you to take with you).
Step 2: Training
We would suggest a couple of training hikes to prepare yourself for Fuji. If you’re living in Japan, we loved the Mt Jinba to Mt Takao hike for training. If you’re based around Tokyo you’ve got Mt Mitake, Mt Takao, Mt Hinode and a multitude of other mountains in Okutama to train on. If you’re not in Japan, try to find some mountainous hikes to train on.

Step 3: Packing
Below is our packing list, updated post-Fuji, with everything we wished we’d taken.

Step 4: Getting there
We came from Tokyo and caught a Highway Bus from Shinjuku to Mt. Fuji 5th Station. We arrived just before lunch at the 5th station, grabbed some lunch at one of the restaurants and headed off on the trail after lunch.
Step 5: The Climb
Before you enter the trail, there is a tent where you’re asked to contribute ¥1000 ($10) to the Mt. Fuji trail conservation fund. Although it isn’t compulsory, it’s nice to support the trail maintenance and they will give you a wooden Mt Fuji 2023 tag in return.
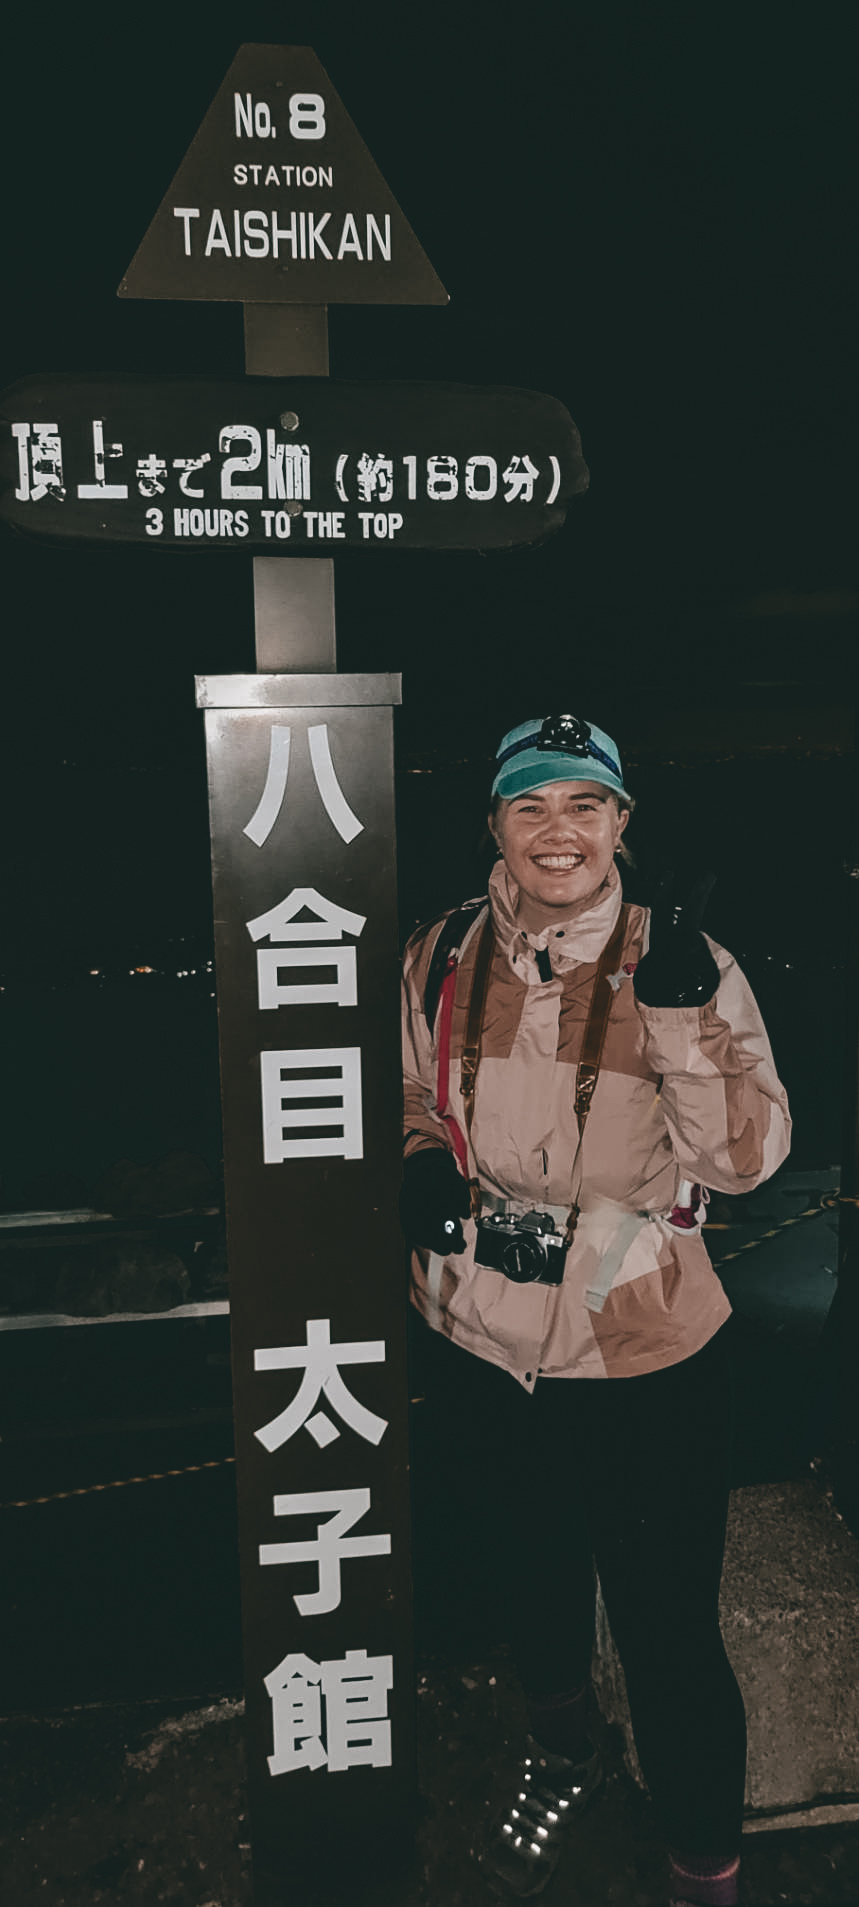
There are 9 stations before you reach the summit and you start at the 5th station, where the bus drops you off.
From 5th – 6th station is fairly cruisey, with a slight incline, but eases you into the hike. Keep an eye out for the horses as some people take horse rides up to the 6th station and back!
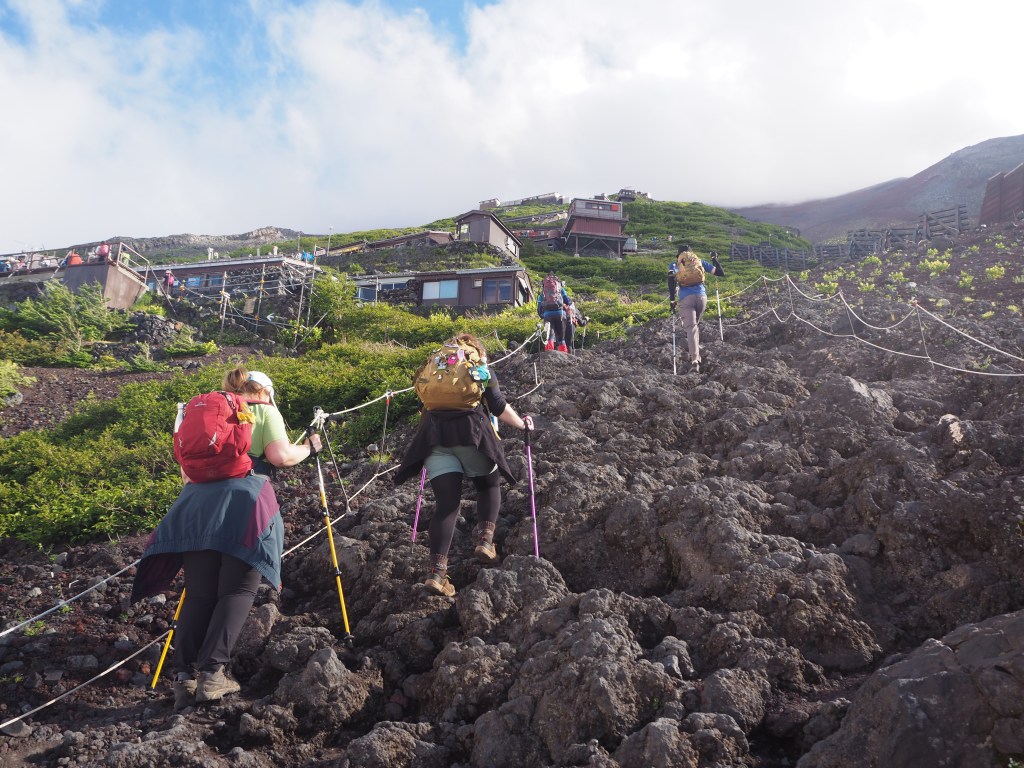
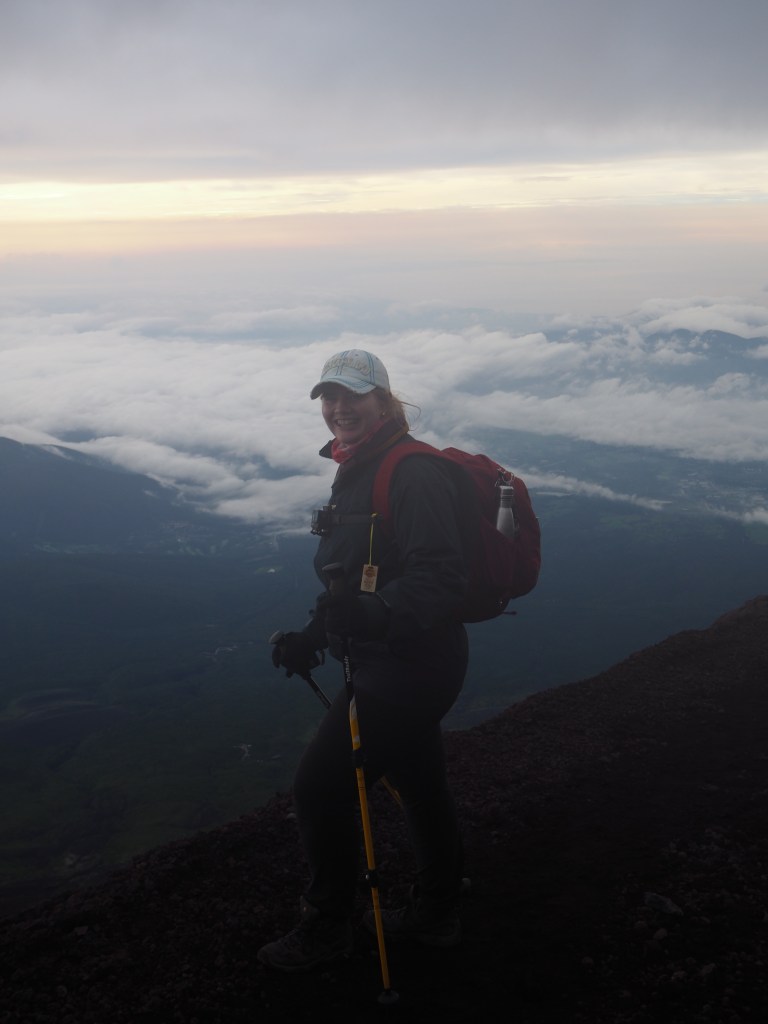
Once you reach the 6th station, you get a great view of the trail zig-zagging its way up the mountain. Just follow the trail (and all the other hikers) up and up. Make sure you take time to take in the sights. There’s no rush and there are endless views to take in!

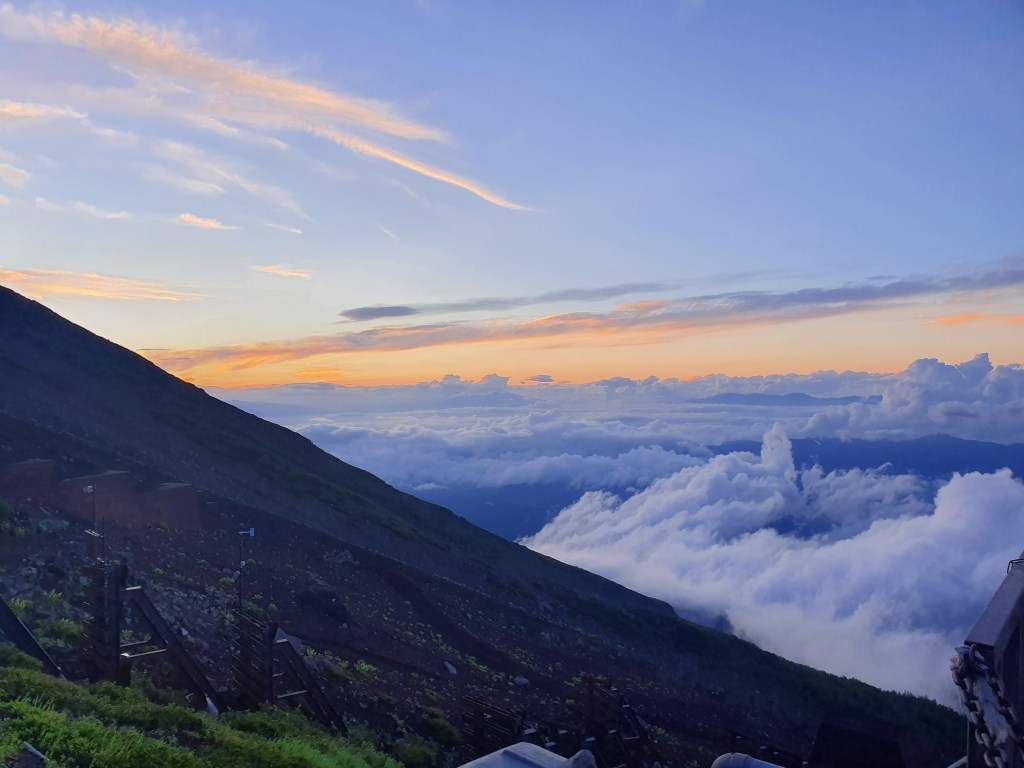
If you are staying in a hut, keep hiking until you reach your hut and take the time to take in the sunset from the deck of your hut. Most huts have dinner and breakfast included in your stay, so enjoy your warm meal before a few hours of sleep to prepare for the final climb.
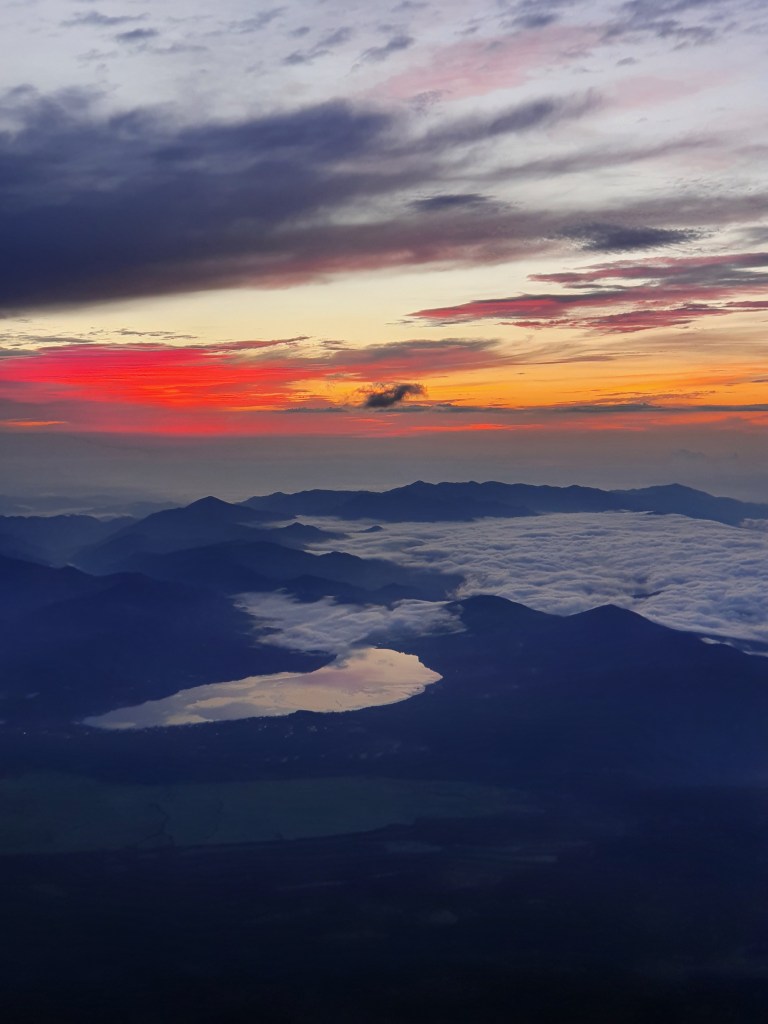
Because we were staying in a hut at the 7th station, we had a few hours’ sleep and got on the trail again around 11pm to try and make it to the summit for sunrise. Spoiler alert, we didn’t make it to the summit for sunrise, but we got to watch it from the 9th station (close to the top) and had incredibly EPIC views. The summit was shrouded in cloud, so it was actually quite serendipitous that we didn’t make it to the summit because we wouldn’t have seen anything.
The trail from the 7th station to the summit was varied and in parts you have to put your poles away and climb up rocky sections of the trail. It was very windy when we were there, so make sure you have gloves to help you grip onto the rocks. Because we started from the 7th station, most of our climb was in the dark, so head-torches were a necessity and lots of warm clothes.


Once we reached the summit it was VERY COLD, so we didn’t stick around for too long. We grabbed cans of hot chocolate from a stall that had them sitting in boiling water, to warm ourselves up, but it was incredibly cold, so we finished the hot chocolates and headed straight back down the mountain.

If you have a nice day, you can walk around the crater at the summit, but it can get quite windy. We wish you all good weather days!


The way back down was tough. It’s all gravel road that is very slippery because of all the small, smooth pieces of gravel. We saw multiple people fall over. This is where hiking poles are super handy to help with keeping you upright. It took us about 5 hours to descend. There is only 1 set of toilets between the summit and the 6th station on the descending trail, but you can jump across to some of the huts on the ascending trail if you get desperate (which we did). The first 1.5-2hours of the descent, there are no buildings, no food huts and no toilets, so make sure you’re stocked up on food and water.

Altitude tips
Disclaimer: we are not professionals. These tips are purely from our own experience and from other hikers we’ve met/the Internet.
- Take it SLOW. ‘Bullet climbing’ Mt Fuji isn’t recommended because your body doesn’t get enough time to adjust to the altitude. There are heaps of opportunities to take a break at each hut. We stopped for 10-15mins at each hut and had a snack/water/bathroom break.
- Stay HYDRATED. One of the biggest things you can do for your body in altitude is stay hydrated. Take plenty of water and take regular drink breaks.
- Altitude doesn’t feel like being out-of-breath. This surprised us. It was just like we were moving in slow motion and your heart beats really fast.
- Because you start at the 5th station, instead of the base, you already start at a fairly high altitude, so just be mindful that your body is trying to adjust quickly.
Mt Fuji was such an incredible experience, filled with beautiful people and stunning views. It’s well worth the effort. We wish you all the best of luck with your climbs!
If you have any questions, reach out to us on Instagram! @globetrottingpeanuts
